How to Transfer a Domain from One Cloudflare Account to Another

TABLE OF CONTENTS
How to Transfer a Domain Between Cloudflare Accounts
Managing domains is a core part of keeping a website secure and reliable. For businesses, developers, and marketing agencies, Cloudflare has become one of the most trusted platforms for DNS management, website security, and performance optimization. But what happens when you need to transfer a domain from one Cloudflare account to another?
Whether you are moving accounts for internal organization, consolidating multiple domains under one login, or handing a project off to a new team, the process can seem technical at first glance. Fortunately, once you understand the steps, transferring a domain between Cloudflare accounts is straightforward.
In this article, we will walk through each step of the process in detail.
Why Cloudflare Is Popular for Domain Management
Before diving into the transfer process, it helps to understand why so many businesses use Cloudflare for their websites. Cloudflare is more than just a DNS management service. It provides a complete suite of tools to protect and accelerate websites, including:
- DNS management: Cloudflare has one of the fastest and most reliable DNS systems in the world.
- Content Delivery Network (CDN): Cloudflare caches and distributes website content across servers worldwide to improve speed.
- DDoS protection: Built-in security tools defend against distributed denial-of-service attacks.
- SSL certificates: Cloudflare makes it easy to add free and automatic SSL for secure browsing.
- Analytics: Website owners can track traffic, threats, and performance in real time.
Because of these benefits, many businesses choose Cloudflare to manage their domain names. But there are times when a domain must be moved from one Cloudflare account to another, and that is where the process we outline below comes in.

Step One: Export DNS Records from the Original Cloudflare Account
The first step in transferring a domain is to export the DNS records from the account where the domain currently resides. DNS records act as the roadmap for your domain, directing visitors to the correct web servers, email services, and applications.
In the original Cloudflare account:
- Log in to your Cloudflare dashboard.
- Select the domain you want to transfer.
- Go to the DNS settings.
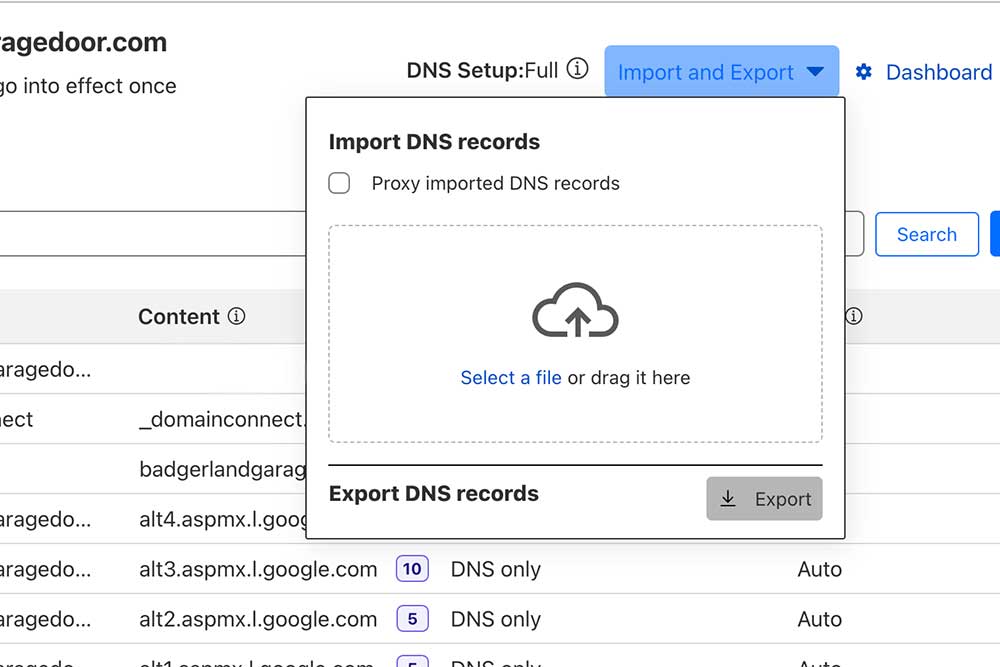
- Use the Export DNS Records option to download a copy of all existing records.
This export ensures you have a full backup of every DNS entry before making changes. Without this step, important services like email or subdomains could break during the transfer.

Step Two: Add the Domain to the New Cloudflare Account
Next, log in to the Cloudflare account that will be receiving the domain. You will need to onboard the domain into this account. Cloudflare makes this process simple with a guided setup.
Here’s how to do it:
- Log in to the new Cloudflare account.
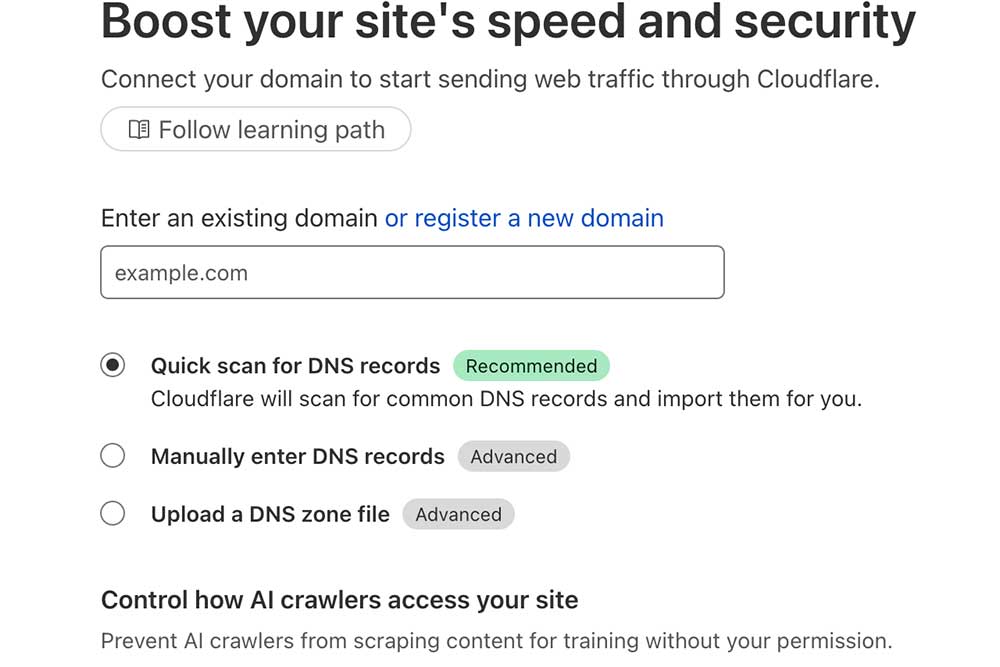
- Click Add a Site from the dashboard.
- Enter the domain name you are transferring.
- Cloudflare will perform a quick scan of the existing DNS records.
This scan is helpful, but it may not capture every custom record. That is why importing your exported DNS records is an essential next step.
Step Three: Import the DNS Records into the New Account
Once the domain has been added to the new Cloudflare account, it is time to import the DNS records. The exported file from the original account ensures that nothing gets missed.
In the new Cloudflare account:
- Navigate to the DNS settings of the domain.
- Look for the Import DNS Records option.
- Upload the file you exported from the original account.
After the import, carefully review the records to confirm accuracy. Pay close attention to mail server records (MX), custom subdomains, and third-party service integrations such as Google Workspace, Microsoft 365, or hosting providers.
If you notice discrepancies, you can manually add or edit DNS records to match the old configuration.

Step Four: Update the Domain Name Servers
At this stage, the DNS records are in place within the new Cloudflare account, but the domain is still pointing to the old Cloudflare name servers. The final step is to update the name servers so the domain fully transitions to the new account.
To do this:
- Go to your domain registrar (where you purchased the domain, such as GoDaddy, Namecheap, or Google Domains).
- Find the domain name server settings.
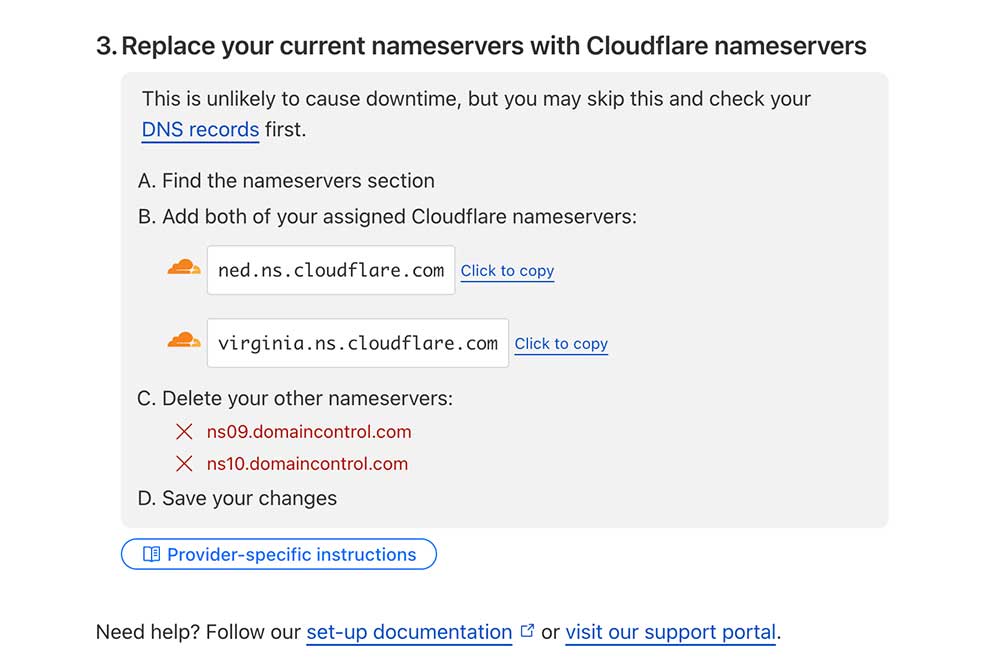
- Replace the old Cloudflare name servers with the new ones provided by your new Cloudflare account.
- Save changes and allow time for DNS propagation, which usually takes a few hours but can take up to 48 hours worldwide.
During this propagation period, some visitors may still see the old configuration until the changes spread globally.
Tips for a Smooth Domain Transfer
While the steps above cover the basics, a few best practices can make the process smoother:
- Do the transfer during low-traffic hours: If your business depends on website uptime, choose a time with minimal visitors.
- Double-check email records: Many businesses rely on MX records for email delivery. A missing or incorrect entry could cause disruptions.
- Keep your export file safe: Even after the transfer is complete, keep a backup of your DNS records for future troubleshooting.
- Communicate with your team: If multiple people manage the website, notify them of the transfer schedule so they can monitor any issues.
Common Reasons for Transferring a Domain Between Cloudflare Accounts
Understanding why businesses move domains between accounts can help you decide if this process is right for you. Some common reasons include:
- Consolidation: Bringing multiple domains under one account for easier management.
- Ownership transfer: Handing a project off to a new business partner, developer, or client.
- Security concerns: Moving a domain to a separate account for better access control.
- Agency management: Marketing agencies often transfer client domains to client-owned accounts after projects are complete.
Each scenario requires careful attention to DNS settings and registrar updates to ensure a seamless transition.

Completing Your Cloudflare Domain Move
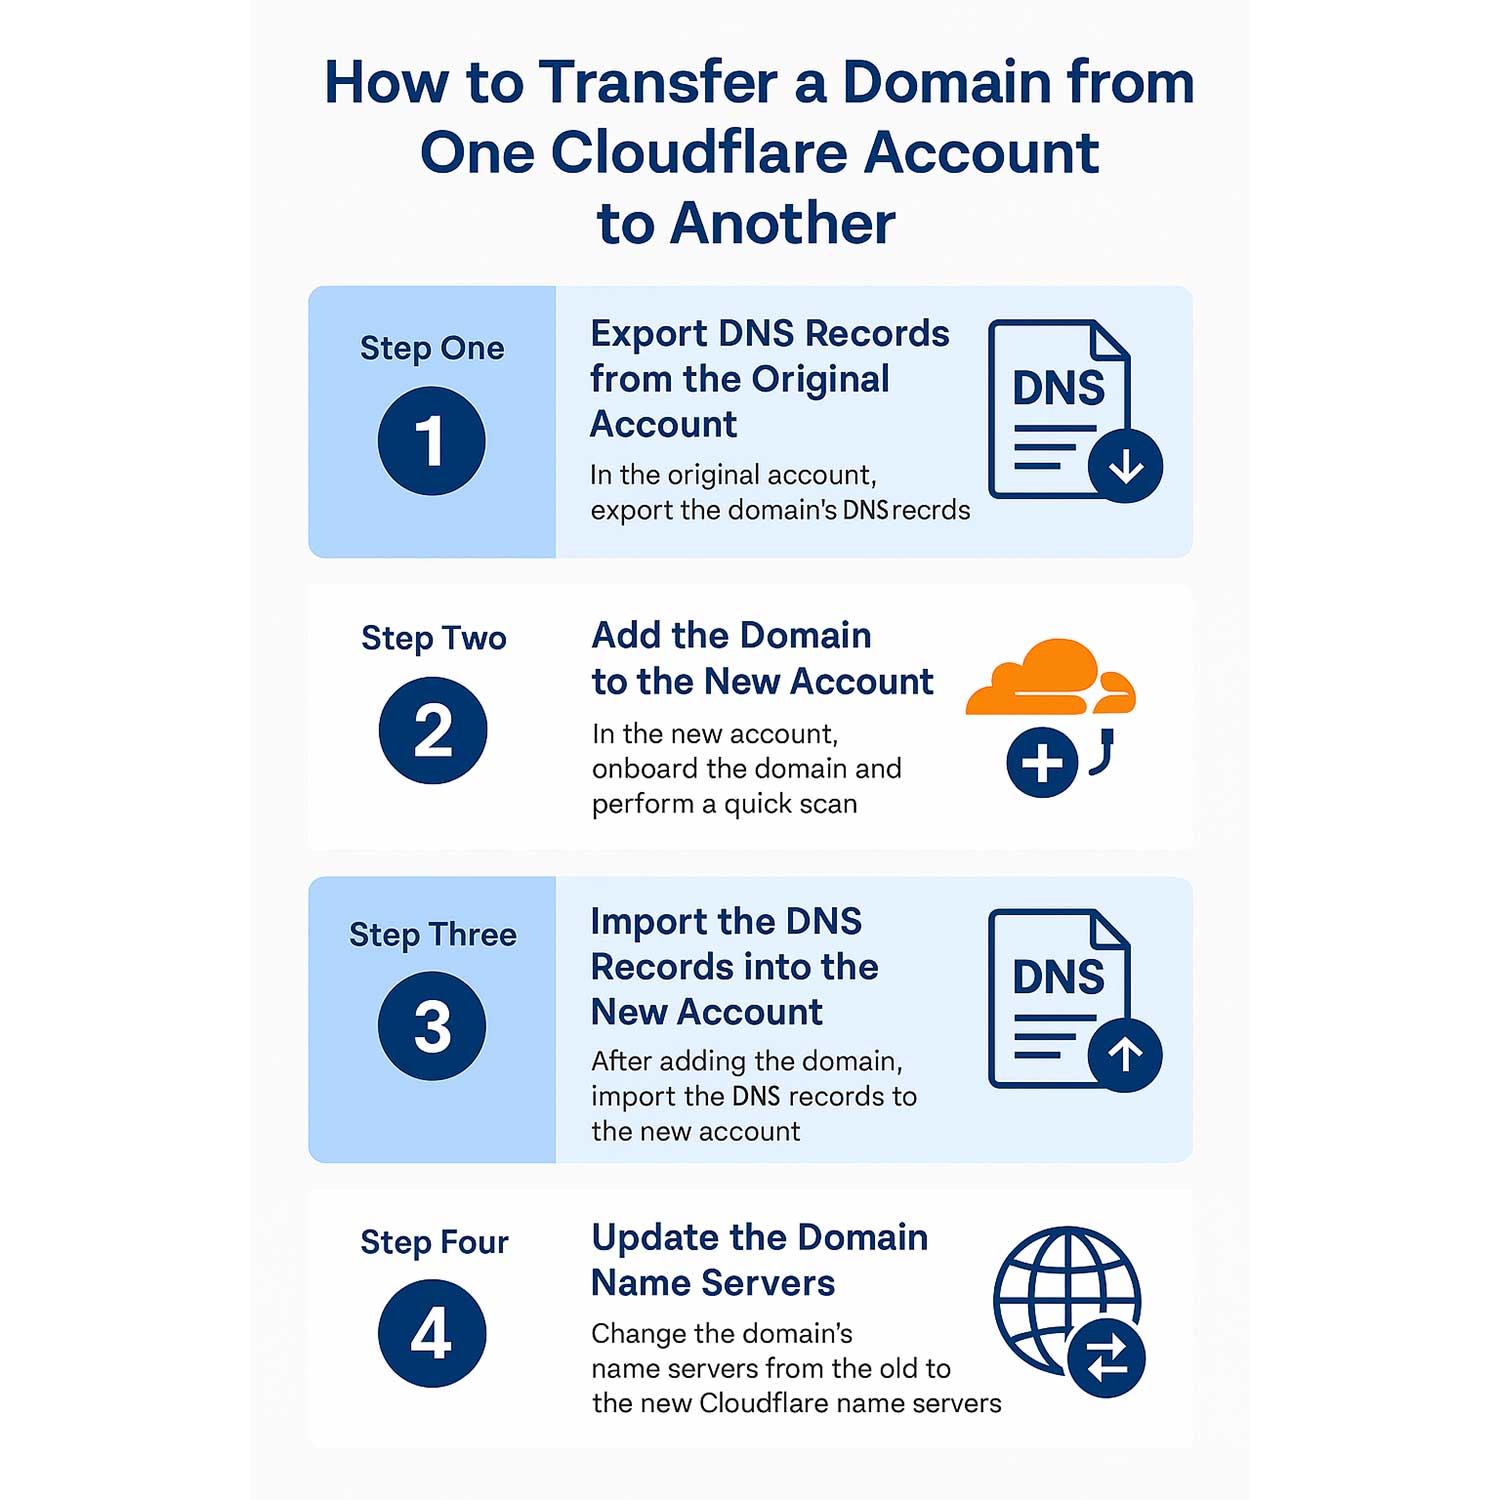
Transferring a domain from one Cloudflare account to another may sound complex at first, but once you break it down, the process is very manageable. By exporting DNS records, onboarding the domain into a new account, importing records, and updating name servers, you can complete the transfer with minimal downtime or disruption.
At Crown Marketing, we work with businesses across industries to manage their web presence, improve performance, and keep domains secure. If you are considering a transfer or need ongoing support with Cloudflare and website management, our team is here to help.
Fill out the form below and let Crown Marketing show you how we can help.


